


The Link app will enable you to post and manage link to external web pages that have relevance to you. You also have the ability categorize link and associate images or files with links. You might want to post link to your current or past projects, affiliated institutions, web articles of interest, etc. Your link will be automatically and neatly formatted using the title that you provide.
Enabling Link App
Before adding any Link, you must first make sure the app is enabled.
1. Click to expand Settings
2. Click on Enable Apps

3. Search for Links.
4. In the drop down menu, click EVERYONE.
5. SAVE CONFIGURATION at the bottom of the page.
Link App Settings
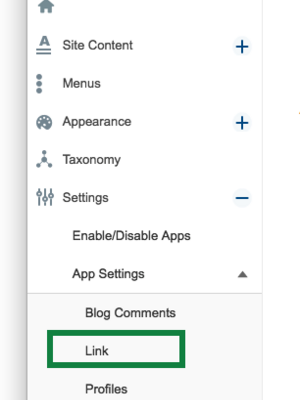
1. From the Control Panel, select Settings
2. Select App Settings
3. Select Links from the options
4. Make changes
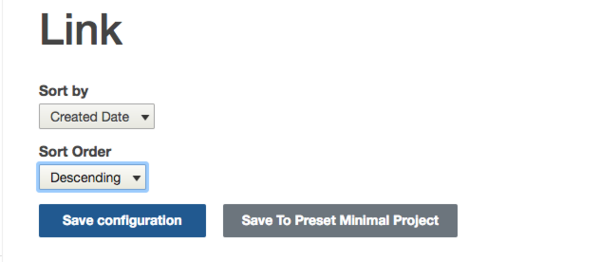
5. Click the Save button to make changes
Link Menu Link
To add the Link App to your Menu, follow these steps:
- Go to the control panel and select Menus
- Once in the Menu area, Select Add New Link in the Primary Menu
- You'll be prompted to choose an Item Type. Please select URL
- Click Continue
- Now give the Menu Item a title like Links and enter the word "links" (lower case) in the URL field
- Click Finish at the bottom of the page
Creating Link
- Go to your links page at /links on your site and select the green Add New button
- Select the Add Link option

- Populate the Links form
Form fields:
-
- Title
- URL
- Open in new tab
- Description
- Attach Files
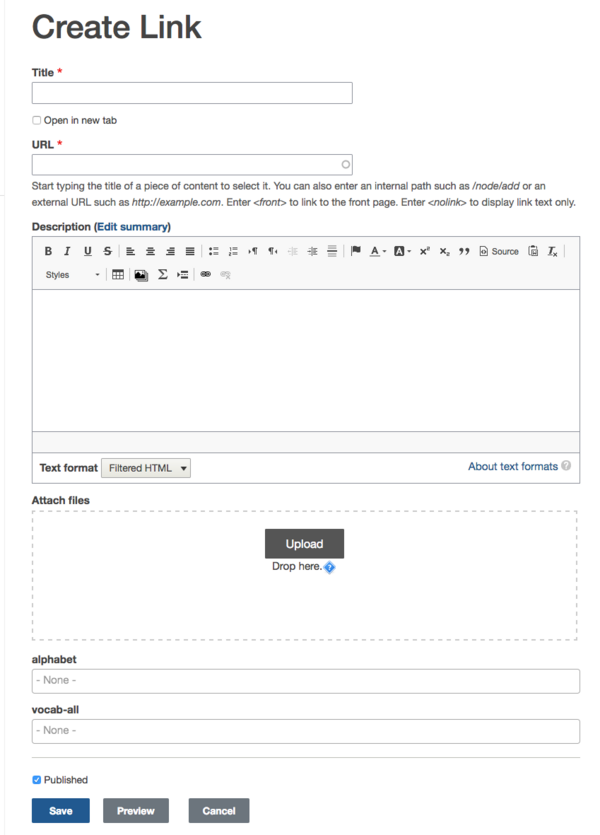
3. Save at the bottom of the form.
4. Repeat this process to add additional links
Content Revisions
The content revisions feature will allow you to save past versions of content (posts) on your website. See refer to revision.
Importing Links
To import Links:
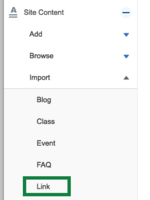
- Click on Site Content
- Click on Import
- Select Link
- You may only upload a file in a CSV format only. To make sure you are importing a file in the correct CSV file format, click the Download a template example to use as a guide.
NOTE: Make sure to save your CSV file using the UTF-8 file format to ensure that your contents are imported without issue.
Importing more than 100 Links at one time is not permitted. If your CSV file is over 100 rows, you will receive an error.

- Submit.
- Go to Content in the admin toolbar and the first entry will be your newly imported Link.
Viewing Links
All of your links can be viewed by clicking on "Links" in the primary menu of your site. You can also view and manage links by navigating to the Control Panel and clicking on the "Content" button. On the right column under "Type" you will see a drop down menu where you can click on "Link" and that will display a list of your links.

Tips about Links
- If Link is set to sort by Created Date in the link settings page, then link posts will be sorted by their creation dates. Changing creation dates on link posts will affect their ordering in /links page.
- You can also reorder your Links using the Featured Post widget!