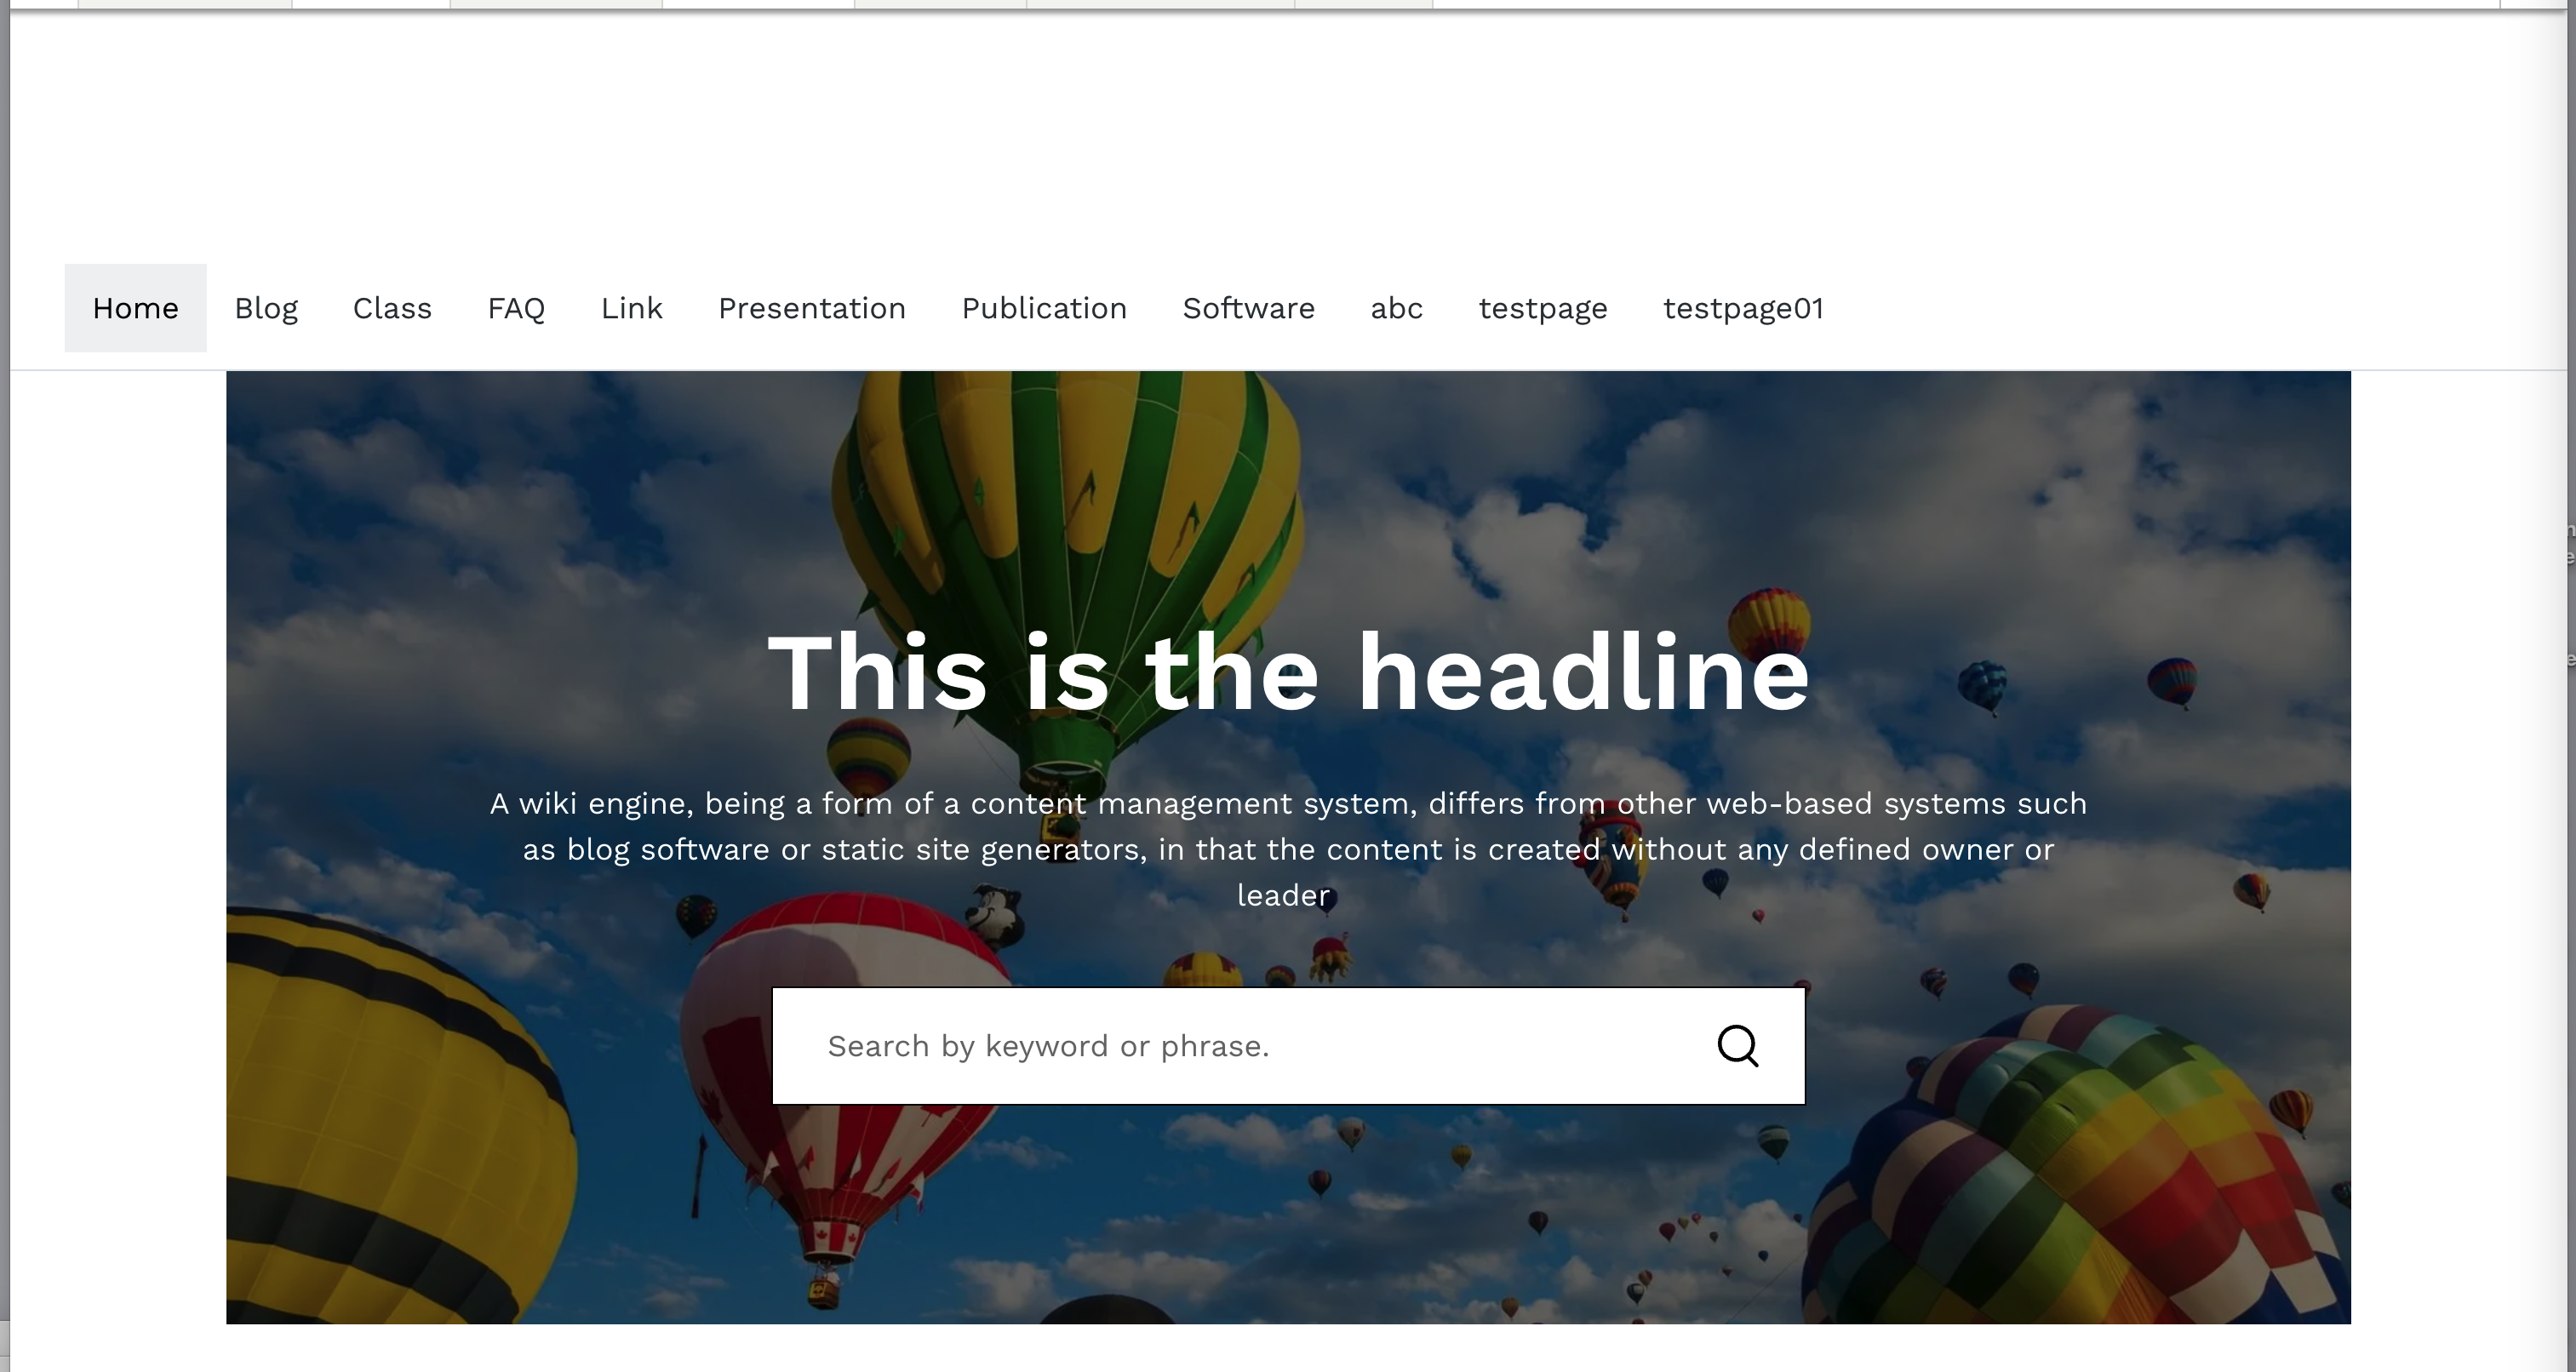
The Callout Banner Widget displays a headline and optional description text in a large, attention-getting banner. You can add an image in the background or on the side, and it can have a button linking to another page or a search box to search for more content that the viewer might be interested in. It can also be used in place of the regular page title if you want to add a striking visual at the top of your page.
1. To add a new widget to your site you must get to the layout area. First, click on the Layout button on the top right side of the page. 
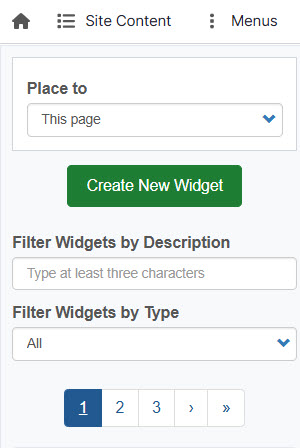
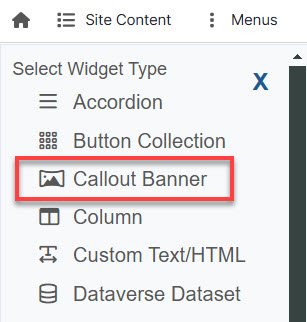
2. Select Create New Widget and the selection Callout Banner.
3. Enter a name for the Widget Description.
4. On the Content tab, check the "Use as page title" box if you wish to hide the regular page title and use this widget as the title instead.

5. Upload an image from your computer or select one from the media library. If you do not provide an image, then a solid color background will appear behind the widget.
- If you are planning to use the image as a background, then it should be at least 1920x1080 pixels and should not contain any text or busy patterns that will make the text on top difficult to read. An overlay will automatically be added to help with the readability and meet accessibility standards.
- If you are planning to use the image on the left or right side, it should be at least 960x720 and should not contain text that competes with the message in the main column.
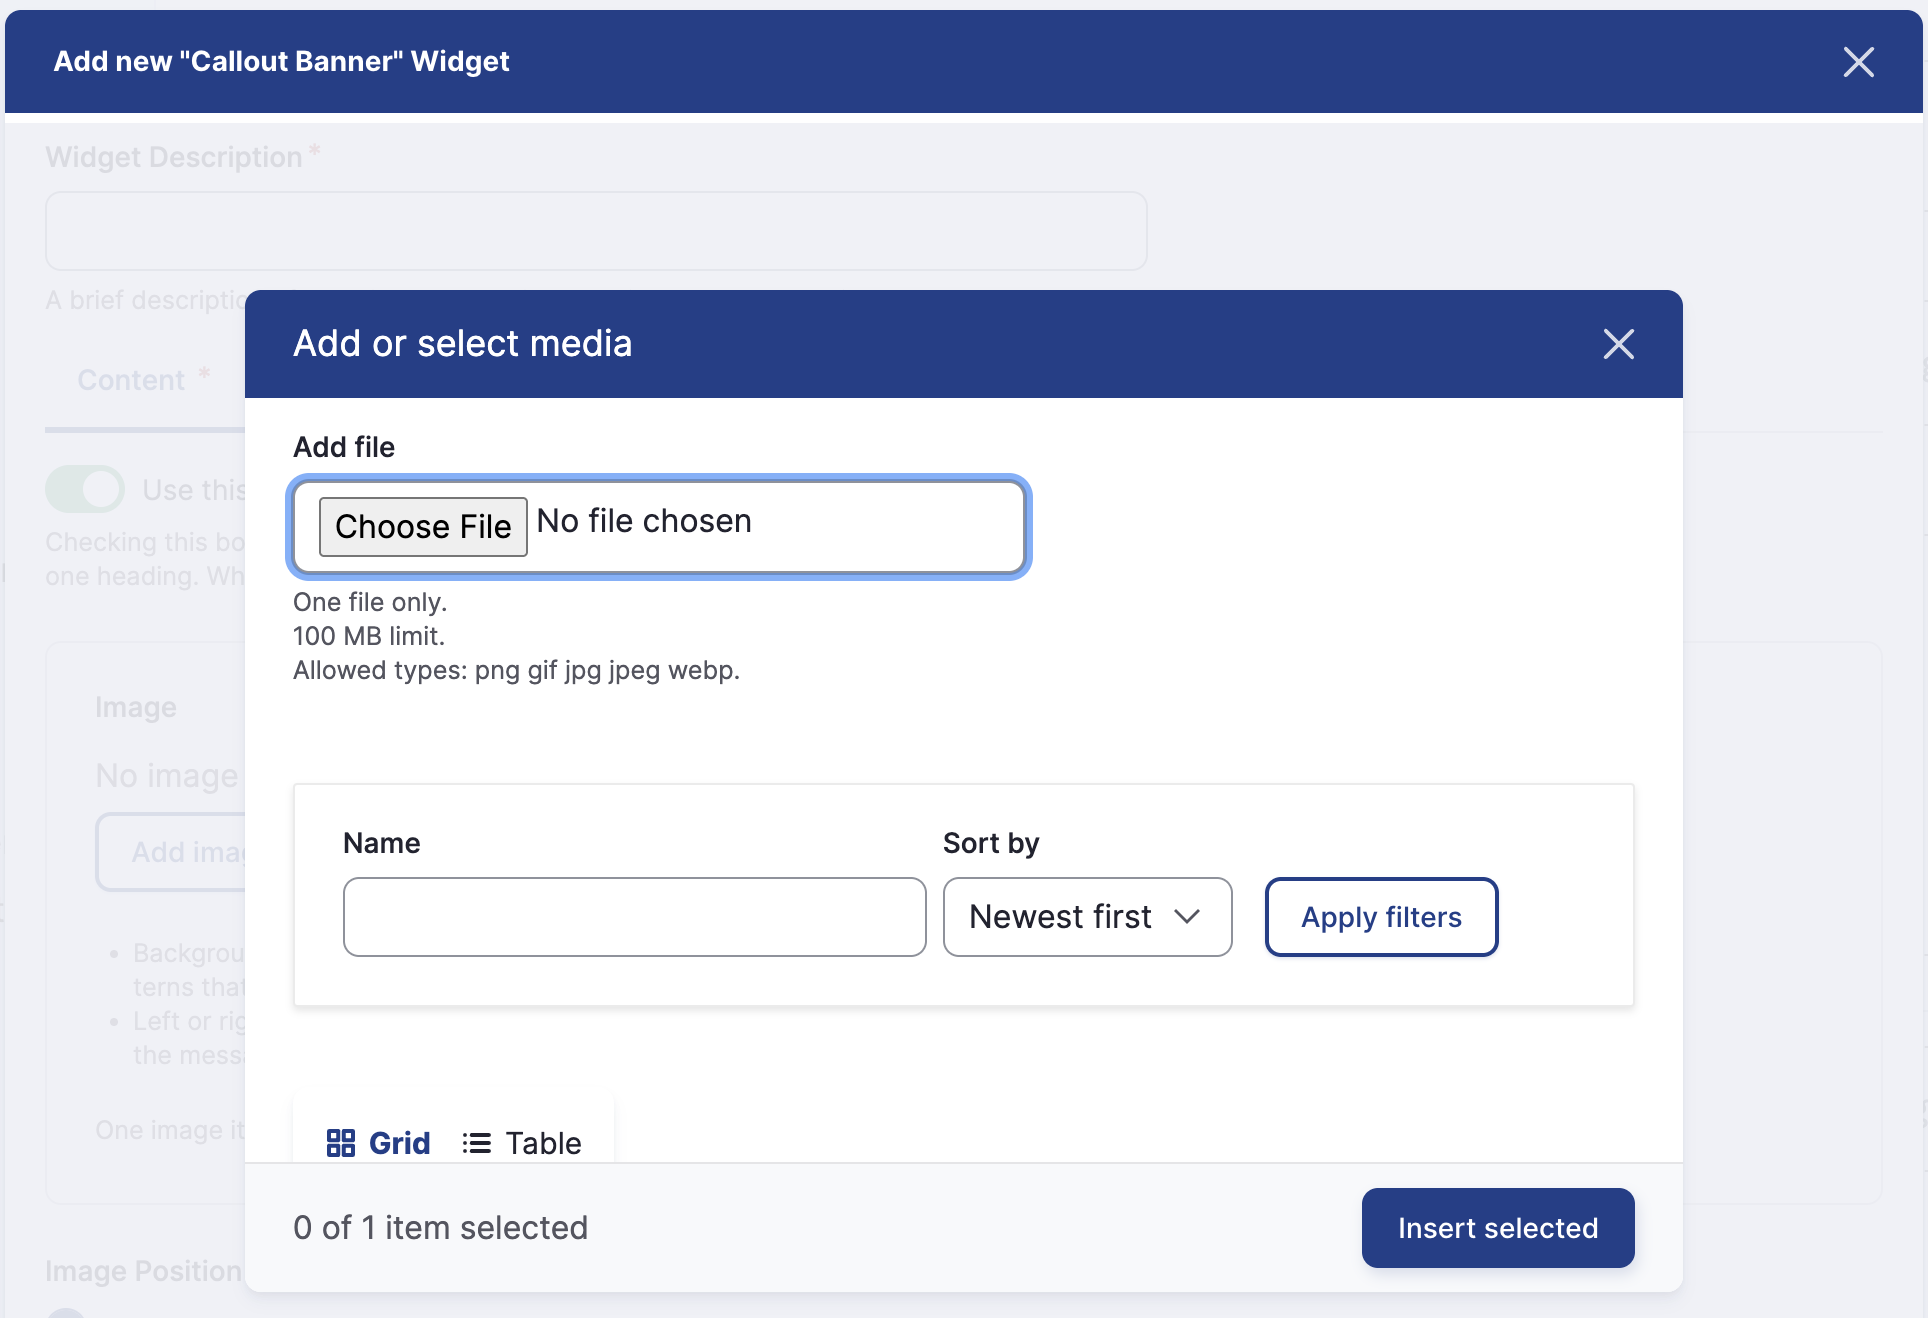
6. Select your image position, Background (default), Left, or Right.

7. Enter a headline in Headline box.
8. Enter a longer description or tagline in Text box if desired.
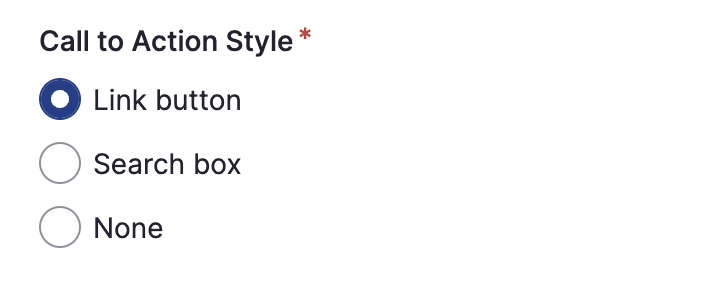
9. Select Link button, Search box, or None in Call to Action Style.
- If you select "Link button," you will be required to enter a link URL and text to use on the button. This will serve as a call to action link, so the text should be succinct.
- If you select "Search box," the user will see an input field for search keywords. It allows them to search all the OpenScholar sites at your institution. In the future, we plan to add an option to restrict the search to your own site.
- If you select "None," nothing will appear below the headline and text. This can be useful if you are using the element as a page title on subpages and don't want to direct the user to a different page.
10. Optional: On the Settings tab, change the Banner Size. Full width is the default. You can change it to Content width if desired.
11. Click Save button.
12. Drag the widget from the widget library and place anywhere within the layout.
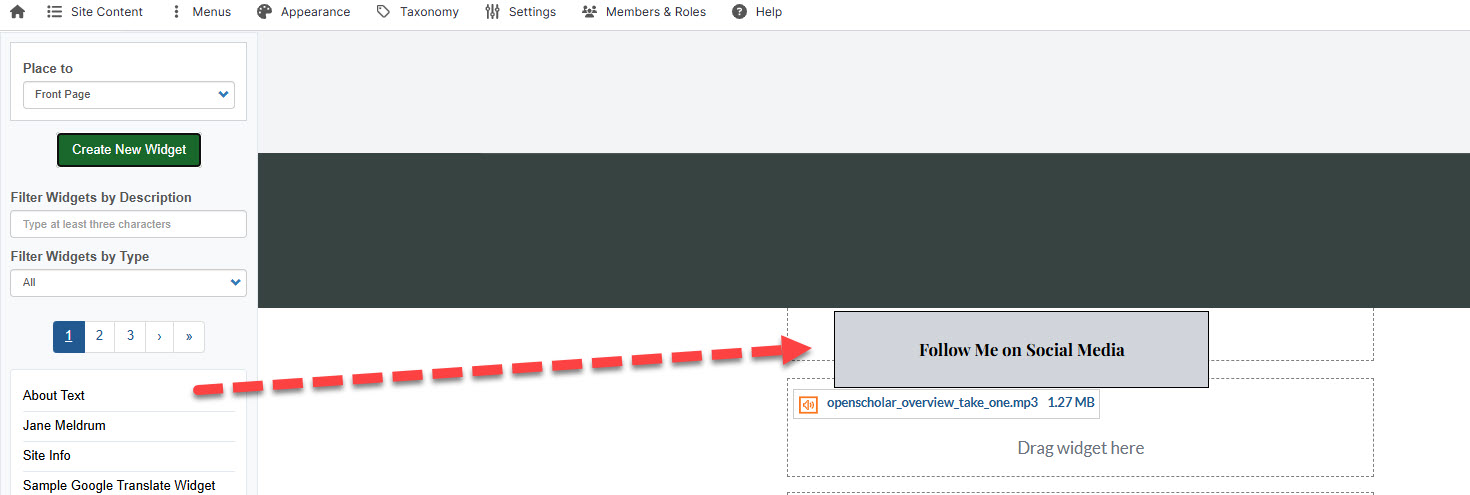
12. Save the layout and view the result.
