


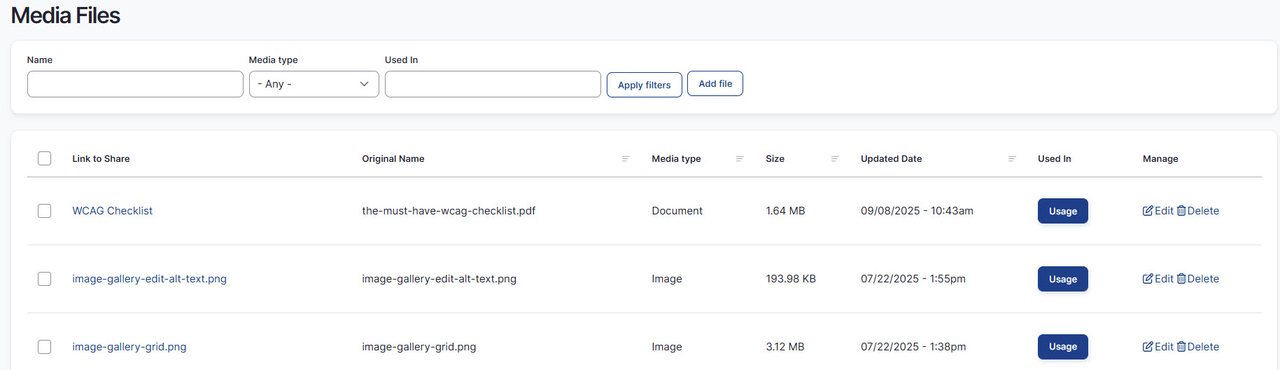
In OpenScholar, think of files as a library of images, videos, PDFs, and other file types that are added to pages or linked to on different pages. Most people add files as they create a page. Once added to a page, they'll also be listed in your media files when you go to Site Content>Browse>Files. You can also add files to your site for access later. This document explains this process.
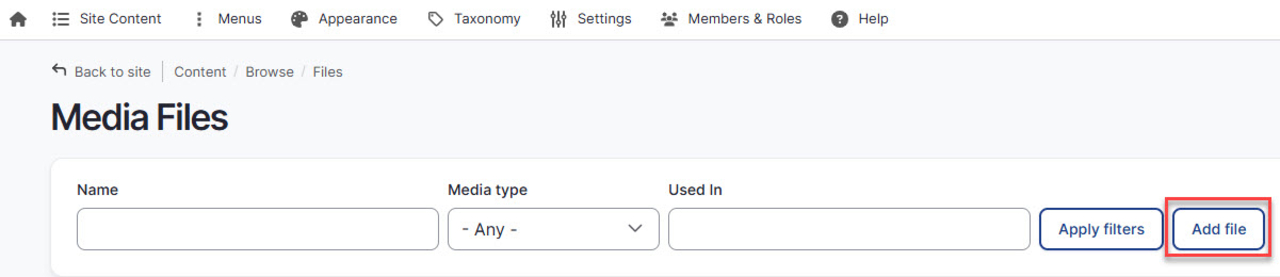
To start, go to the Control Panel>Add>Files. Then click on Add file.
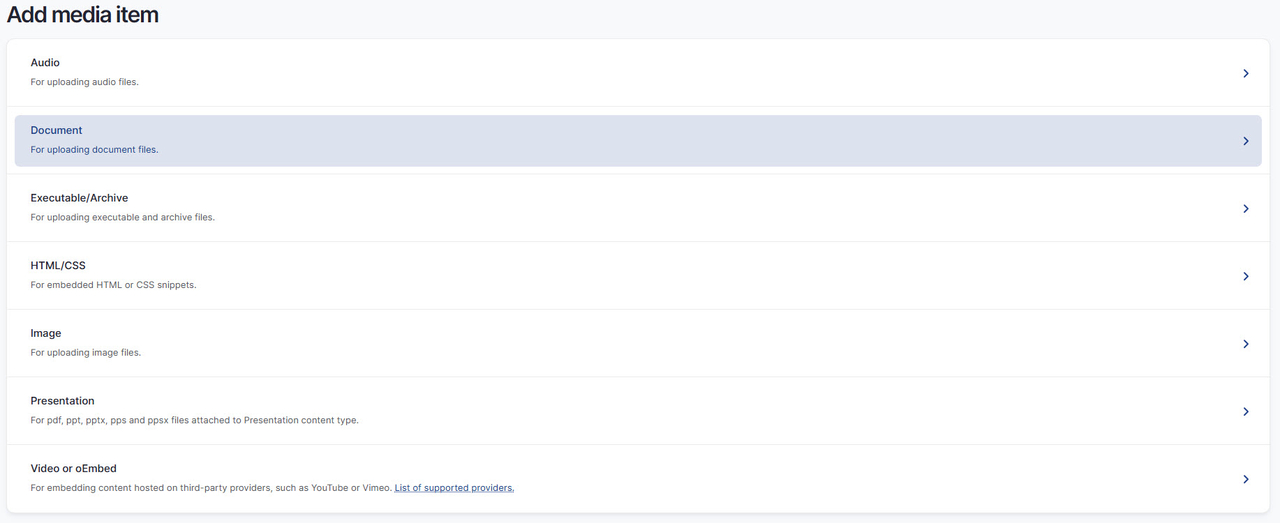
This takes you to the Add Media page, where you can select the type of file(s) you want to add.
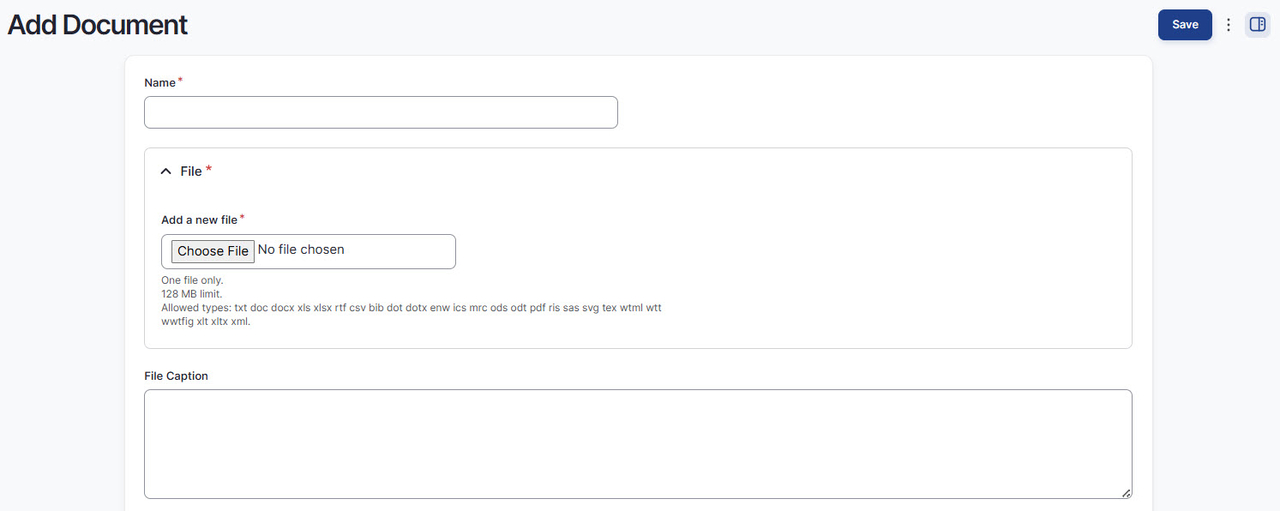
Give the file a name and upload the file. A caption is optional. When you're done, click save.
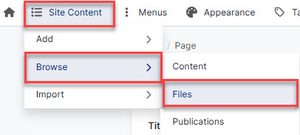
After you've uploaded your file(s), you can find them by going to Site Content>Browse>Files.
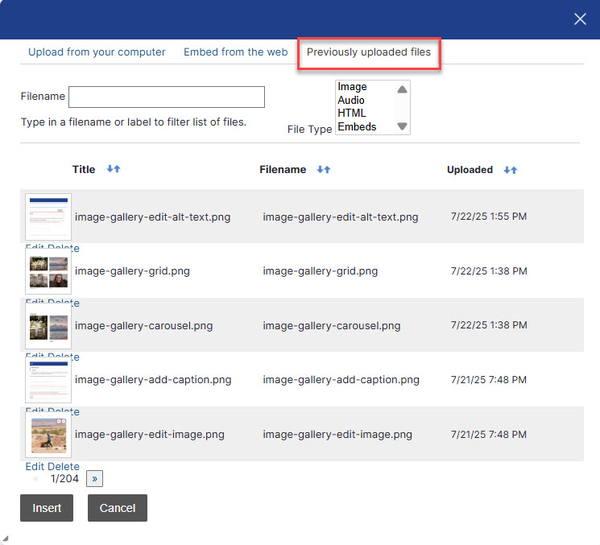
When you add a file, such as an image you've already uploaded to your site, you'll be able to find it through the Previously uploaded files tab, such as in the Custom Text/HTML widget when you click the Embed Media Icon.
You can also link to a document you uploaded by highlighting text or an image, clicking the link icon, and choosing File. Enter the name of the file and it will appear for you to select.
