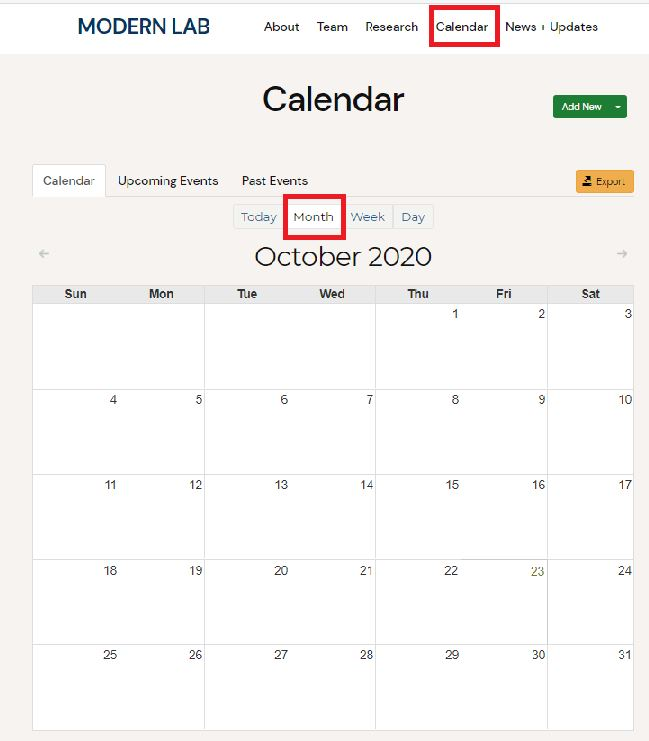
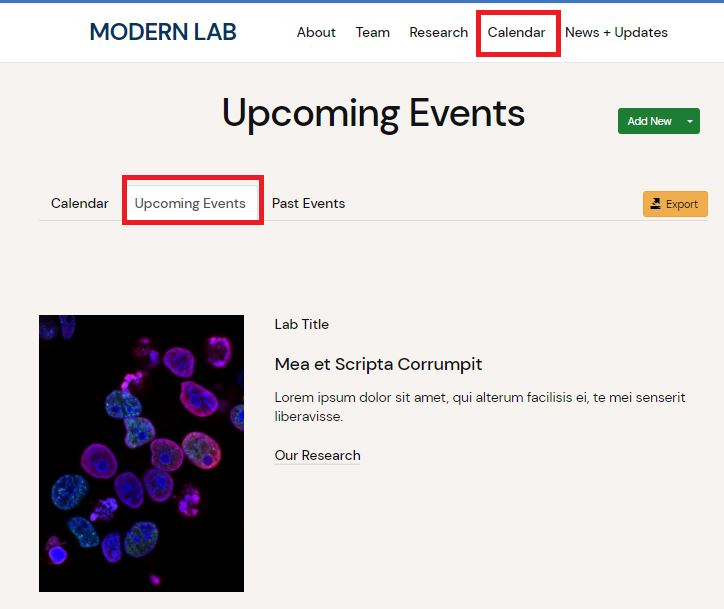
The Events app lets you post and manage your events on your web site.
Enabling the Events App
Before proceeding to add Events you must first make sure the Events App is enabled.
To enable the Events App:
1. Click to expand Settings
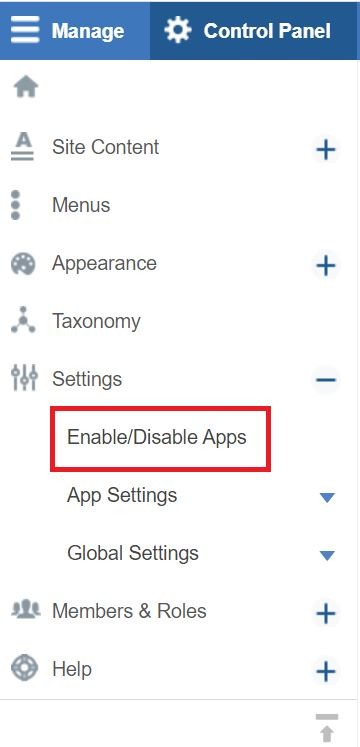
2. Click on Enable/Disable Apps
3. Search for EVENT.
4. Check the box under Enable for EVENT.

5. Click Save.
To navigate your events better, follow these steps to add a menu item pointing to calendar page in primary menu :Calendar Menu Link
The Calendar link should now appear in the primary menu.
If the Calendar link does not appear in your menu, follow these steps:
- Go to the control panel and select Menus
- Once in the Menu area, Select Add New Link in the Primary Menu
- You'll be prompted to choose an Item Type. Please select URL
- Click Continue
- Now give the Menu Item a title like "Calendar" and enter the word "calendar" (lower case) in the URL field
- Click Finish at the bottom of the page
Note: The new section displays of the current month's calendar, as well as other views of upcoming and past events.
Events App View
By default, the calendar displays of the current MONTH view of the full calendar.

Site visitors can tab through these options as well:
- Today
- Week
- Day
Understanding Event URL Paths
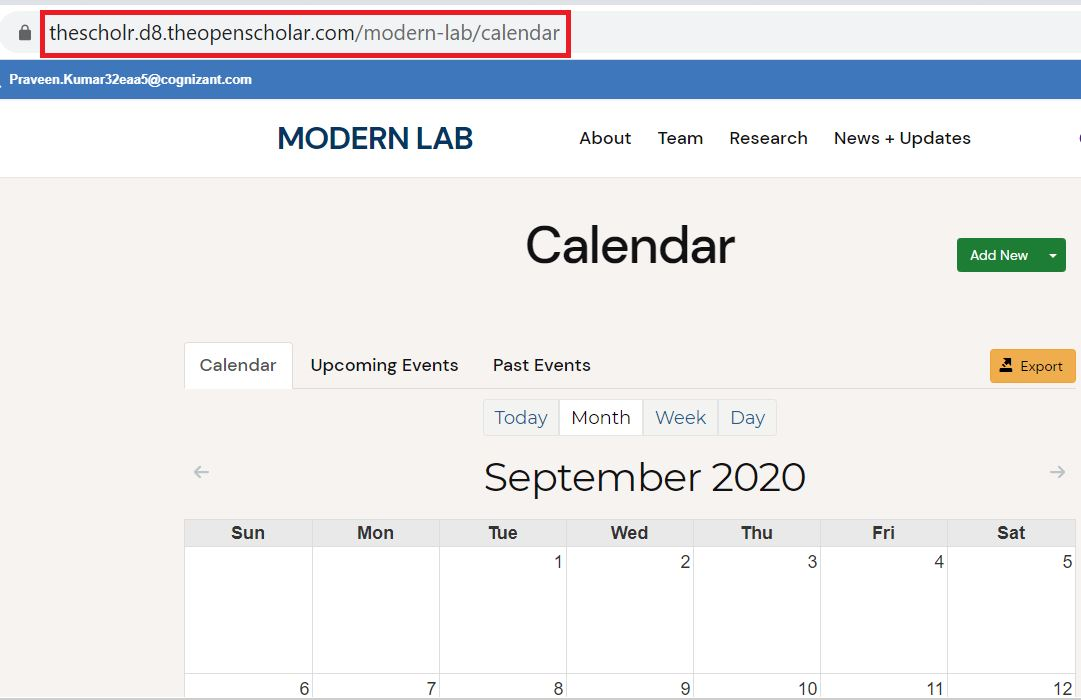
Each tab view in the Calendar has a URL path (see below) which you can find/see by selecting the tab and viewing your url bar.
|
https://thescholr.d8.theopenscholar.com/modern-lab/calendar/past_events |
|
Changing the Default Calendar View
To change the default view:
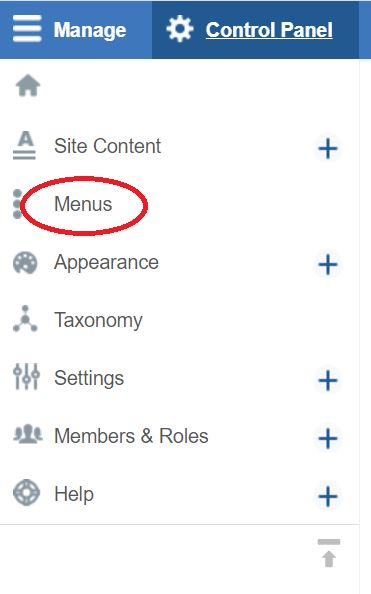
1. Click Menus in the Control Panel
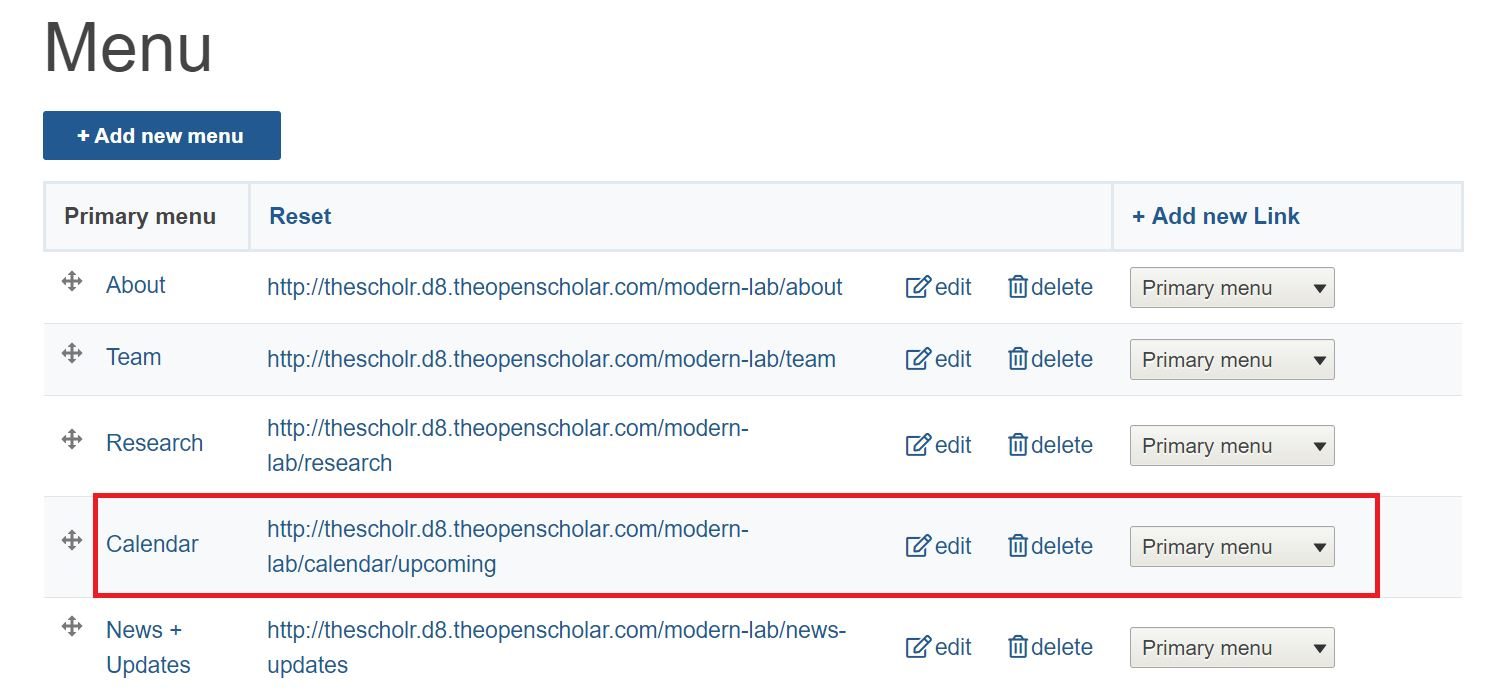
2. Delete the current Calendar link from the primary menu
3. Create a new menu link using one of the URL paths
Example: professional.thescholr.com/calendar/upcoming
4. Save.
View results:
|
Before:
|
After: |
