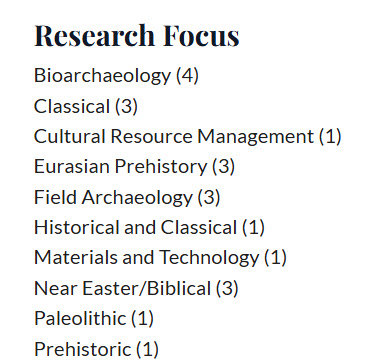
This page provides examples of the widgets you can use to build your web pages.
To build a visually-appealing page, it helps to map out the content you'd like to include and its placement. Once you've done that, you'll have a better idea which widgets to include.
For example, do you want to align an image on the left with text on the right? Consider creating two Custom Text/HTML widgets - one for the image and one for the text. Then create a Column Widget and add the two widgets to the columns.
Do you have a lot of text that would make the page look too cluttered? You may want to create Custom Text/HTML widgets for each topic, then add them to an Accordion widget where sections can be expanded or closed.
The general order for adding widgets to a page is to:
- Create the page if it's new, or edit an existing page.
- Click Layout.
- Click the green Create new widget button.
- Select the widget type.
- Add a description. (A widget title is optional. If you add a title, it will appear on the page.)
- Fill in the fields. Save.
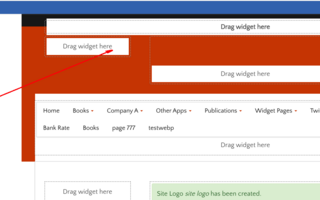
- Either add the widgets to the Column or Accordion widget if creating those, then drag the Column or Accordion widget onto the page, or drag the widget directly onto the page.
- Save.
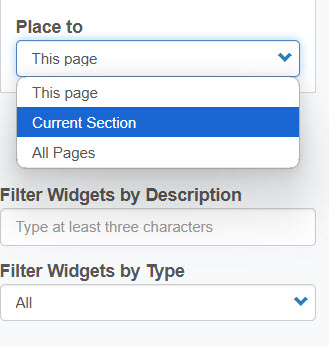
In some cases, you may want to select one of these options before creating your new widget:
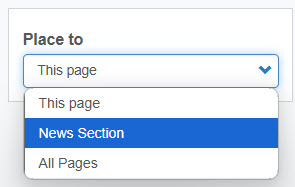
The default is "This page" but you can choose to apply the widget to "All pages" (such as your site logo) or "Current Section," which you'd select when adding the Sharing buttons to your news and blog pages. Choosing Current Section allows visitors to share specific articles, rather than the entire page of news or blog posts.


