The Menus section of the Control Panel allows you to control the menu links on your site. You can completely customize the menus for your site. There are two menus pre-created for you - a "primary menu" and a "secondary menu" but you do have an option to add new menus.
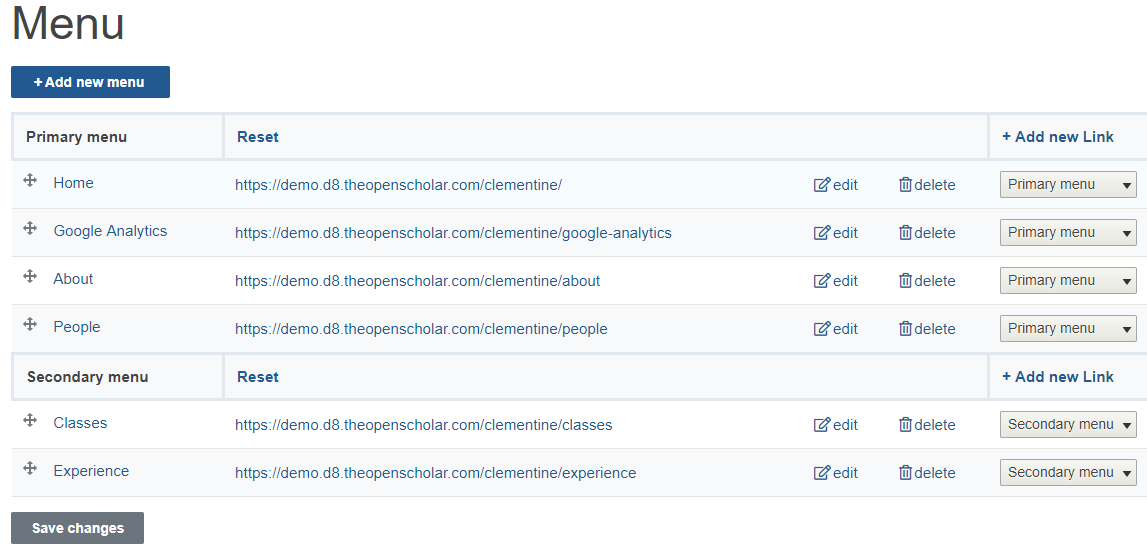
The Primary Menu
The primary menu links are first/top level material and the majority of your site content will/should map to these categories. (Read more about Planning Your Content using our Content Inventory spreadsheet). The primary menu widget is automatically placed below the header region below the Site Info widget*.

The Secondary Menu
The secondary menu should include links to content that your site visitors would want to find quickly and easily, like "Directions" or "Contact". The secondary menu is placed in the top right corner of your site for maximum visibility*. However you can experiment with links in either menus and place them wherever you like.

*The Menus are widgets and you can experiment with the location of these menu widgets within your layout
Creating a New Menu
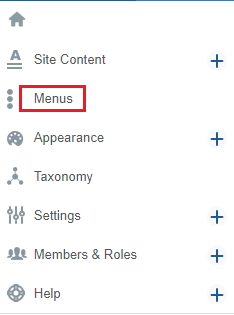
- In the Control Panel click on Menus
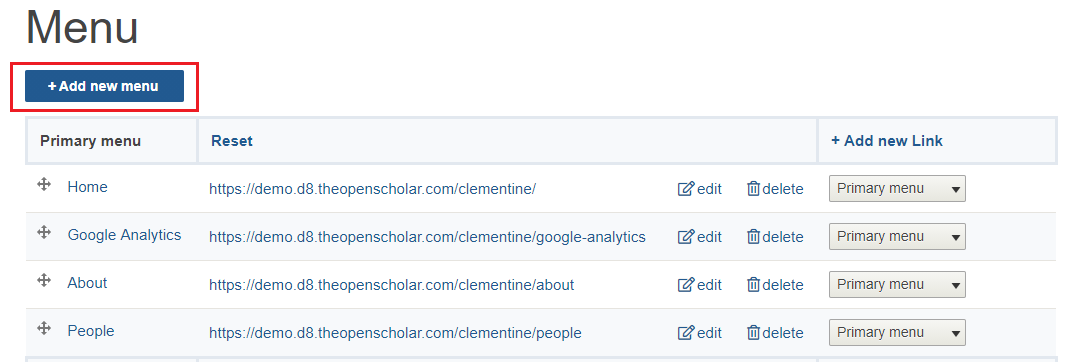
- Click on Add New Menu
.3. Proceed to fill out the form and click Save
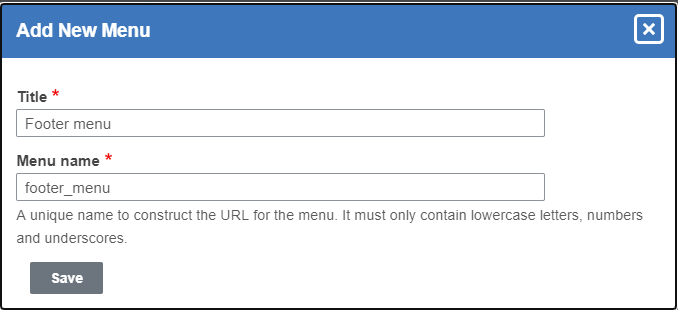
Your new menu has now been created. To add menu links proceed to the next steps
4. In the Footer menu click on +Add new link
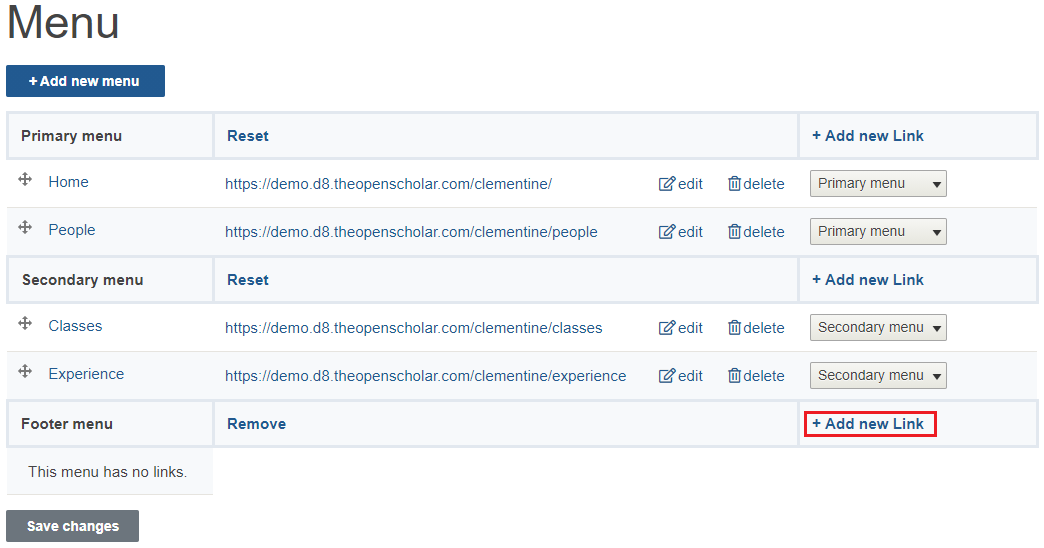
5. Create your menu links and Save
Menu Controls
| You can change the order of how the menus appear by dragging the arrow icon next to the menu items. | |
| You can rename the menu links by clicking on "Edit Link" and typing the new name. You can also choose to delete these links. | |
| You can also choose whether each menu item should be in the primary menu, the secondary menu, or a new menu you create. | 
|
| After you make changes on this page, make sure to click the "Save Changes" button at the bottom of the page. | |

